# Manage your account
Source: https://docs.quake.ai/docs/account/guide
Markdown: https://docs.quake.ai/docs/account/guide.md
---
# Manage your account
Quake AI authenticates you with a **Rumble.com** identity. After you register, the portal at `portal.rumble.cloud` creates your organization, first project, and billing records.
## Organizations, projects, users, and roles
Your Quake AI account connects a Rumble.com identity to an **organization** that holds one or more **projects**. Each project is billed on its own resource tier. Team members join the organization and receive **roles** that control what they can see and do.
## Quake AI websites
- Register and manage your Rumble.com identity at [https://auth.rumble.com/](https://auth.rumble.com/)
- Open the Quake AI portal at [{PORTAL_LOGIN_URL}]({PORTAL_LOGIN_URL})
- Open a project console from the portal after the project exists
## How accounts work
- One Rumble.com account signs you into Quake AI and other Rumble platforms.
- Register with email and password, or with Single Sign-On (SSO) on the **Sign In** page.
- Manage two-factor authentication (2FA) from Rumble.com security settings.
## Create your account with SSO
SSO is on the Rumble **Sign In** page. You can use it to create a new identity as well as to return to an existing one. Providers include:
- Apple
- Google
- Facebook
You need an account with the provider first. The provider login becomes your Rumble.com identity, which the Quake AI portal then uses.
## Create your account with email and password
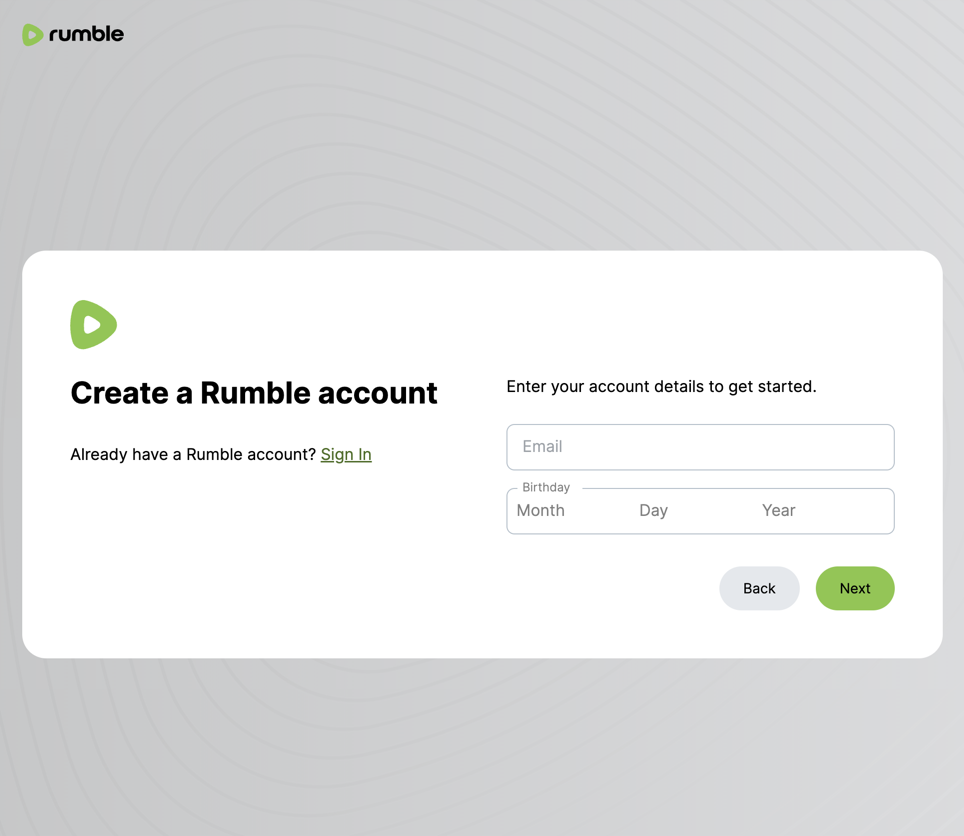
1. Go to [https://rumble.com/register.php](https://rumble.com/register.php).
2. Enter your email and birthday, then select **Next**.
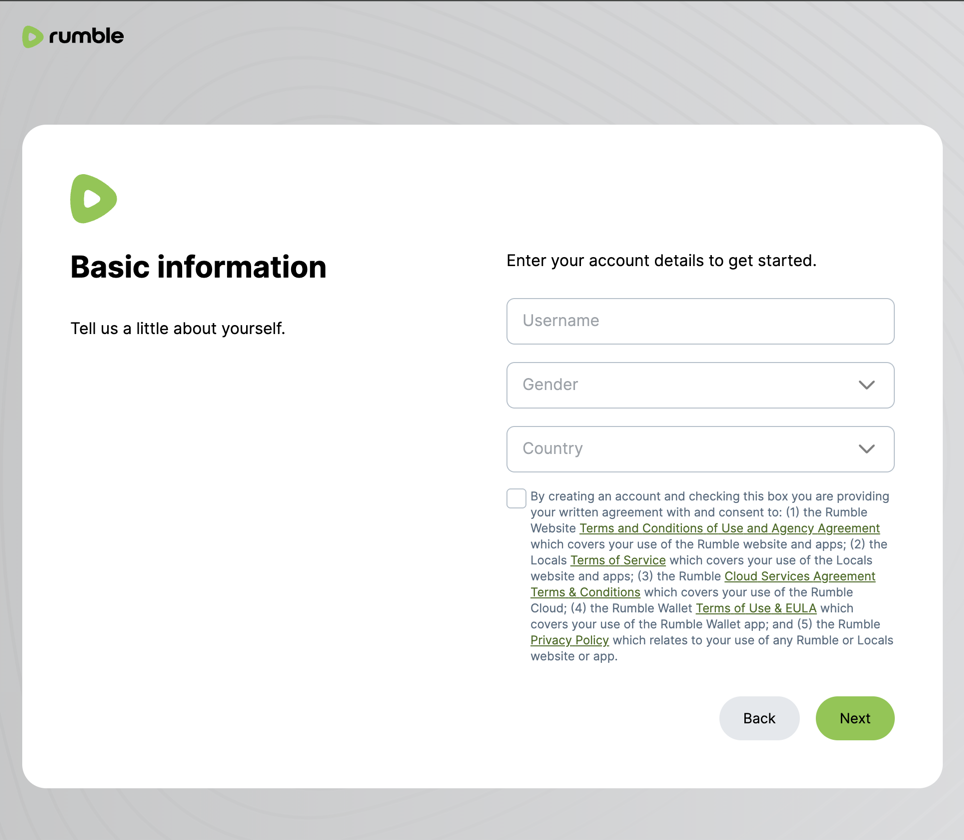
3. Enter a username, gender, and country. Accept the listed terms, then select **Next**.
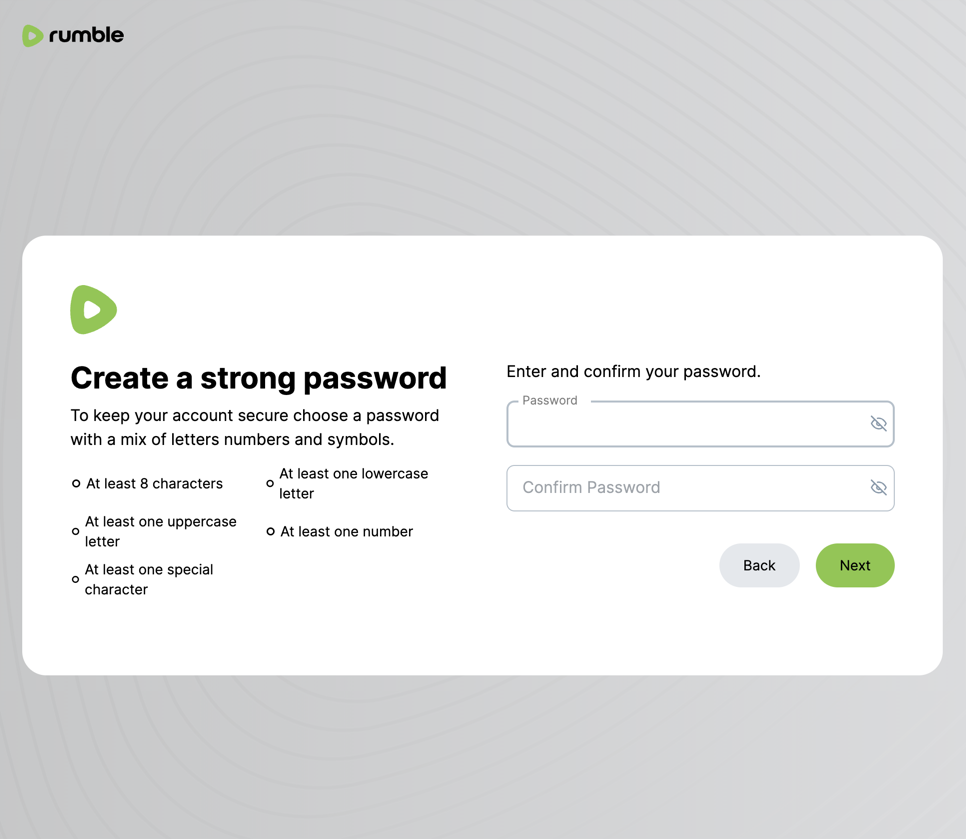
4. Create a password that meets the on-screen rules (length, mixed case, a number, and a special character), then select **Next**.
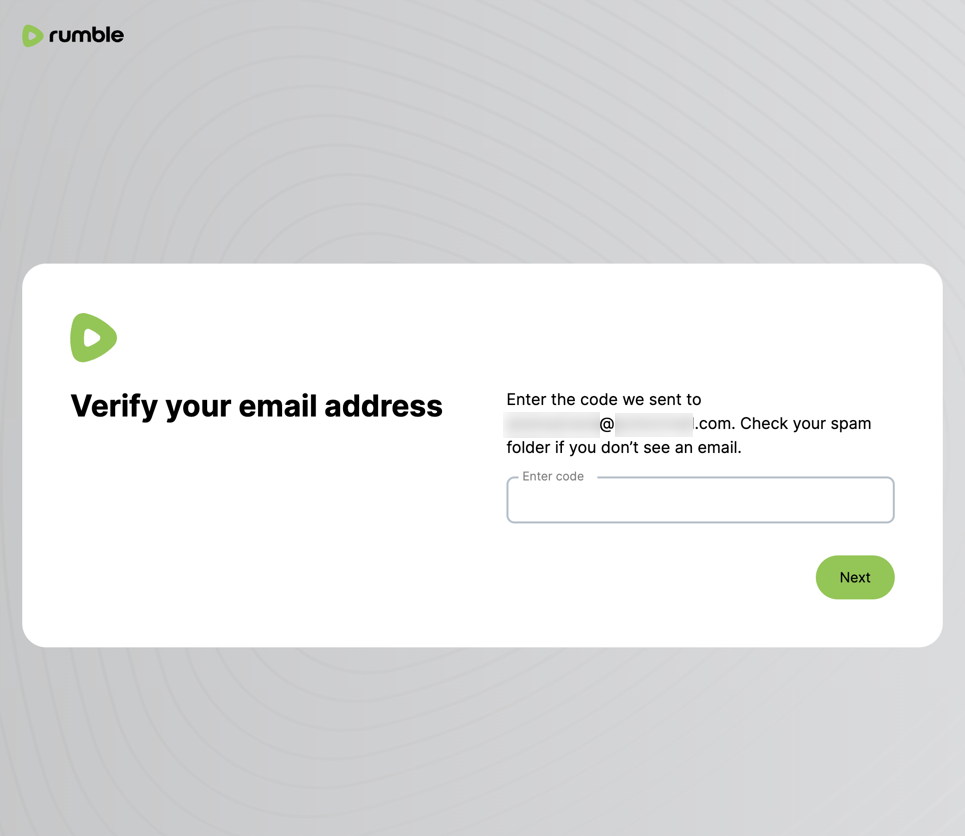
5. Enter the verification code sent to your email, then select **Next**.
## First-time Quake AI setup
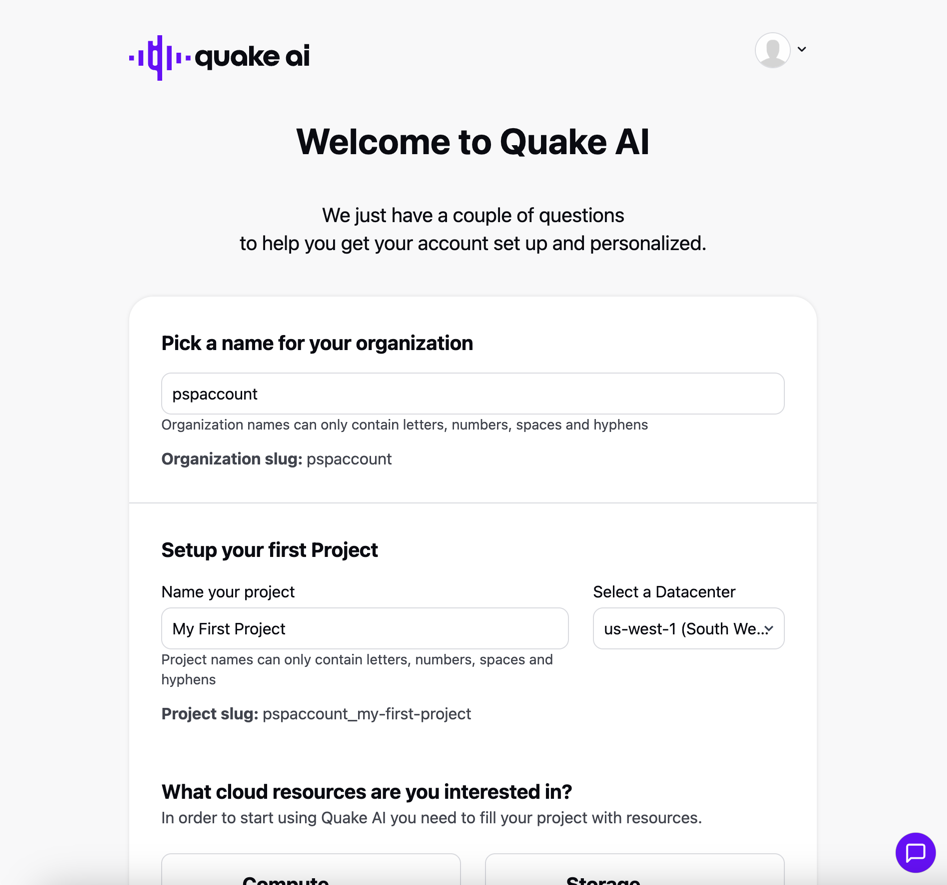
After the Rumble identity exists, the portal opens a **Welcome to Quake AI** wizard.
1. Name your organization. The portal shows a live organization slug.
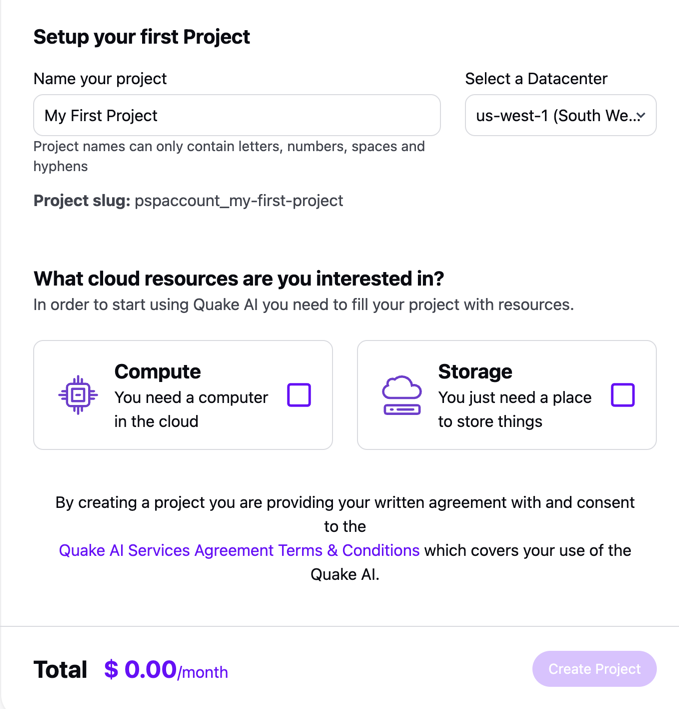
2. Name your first project and pick a datacenter. The portal shows a live project slug.
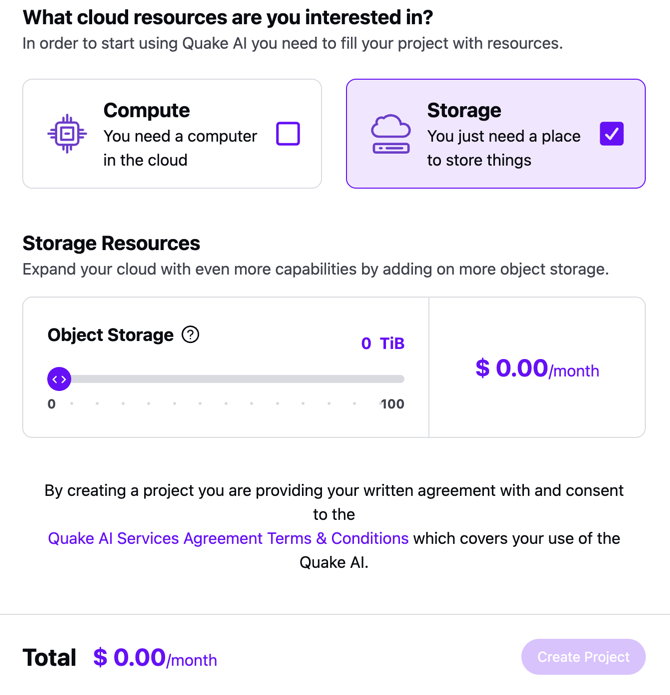
3. Select **Compute**, **Storage**, or both, then pick a resource tier if you selected Compute. See [Resource tiers](/docs/account/resource-tiers).
4. Review the monthly total in the wizard footer and select **Create Project**.
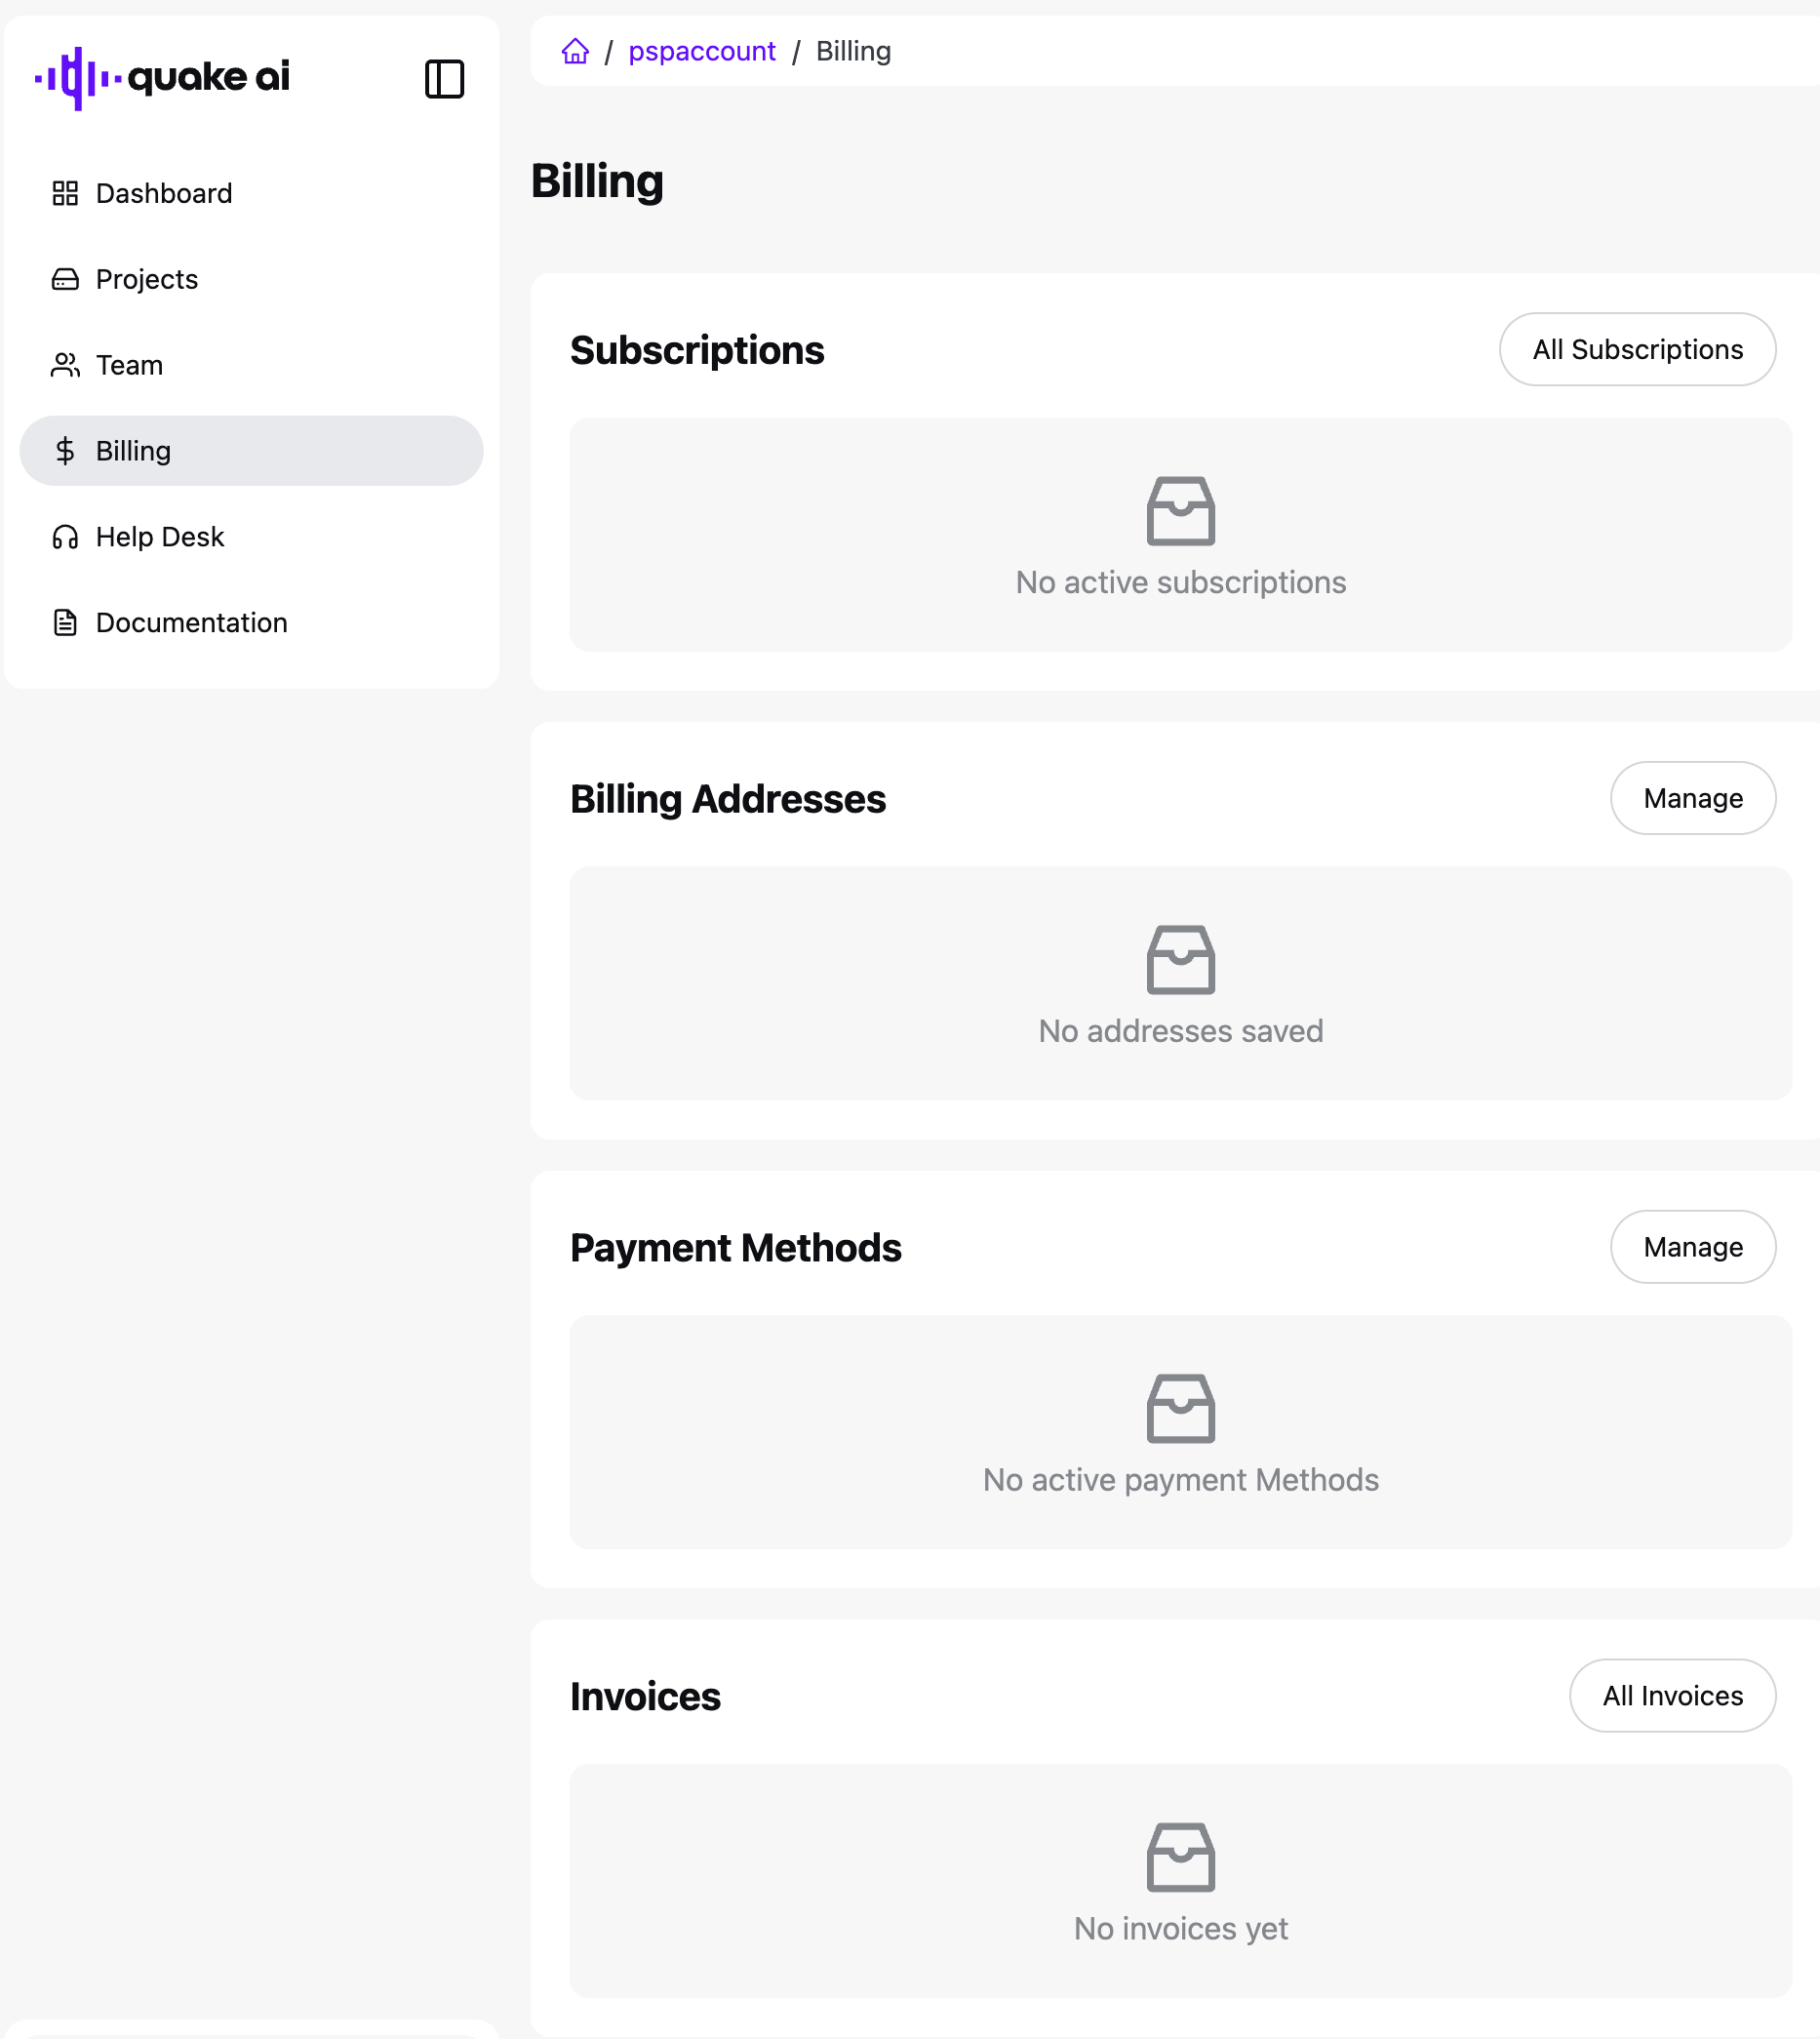
Payment methods, billing addresses, subscriptions, and invoices live on **Billing** after the project exists. See [Manage your subscription](/docs/account/billing/manage-subscription).
## Enable two-factor authentication (2FA)
Two-factor authentication is managed from your Rumble.com user settings and applies across Rumble platforms, including Quake AI.
To enable it, visit [http://rumble.com/account/security/](http://rumble.com/account/security/) and select **Setup Two-Factor Authentication**.
Email is the initial 2FA method. After you enable it, you can switch to SMS or an authenticator app. You then use 2FA when you sign in to Quake AI services.
## Sign into the Quake AI portal
1. Go to [{PORTAL_LOGIN_URL}]({PORTAL_LOGIN_URL}).
2. Select **Sign in with Quake AI**. If you are not signed in, the Rumble **Sign In** page appears (email and password, or SSO).
3. Approve the sign-in when asked.
## Getting around the portal
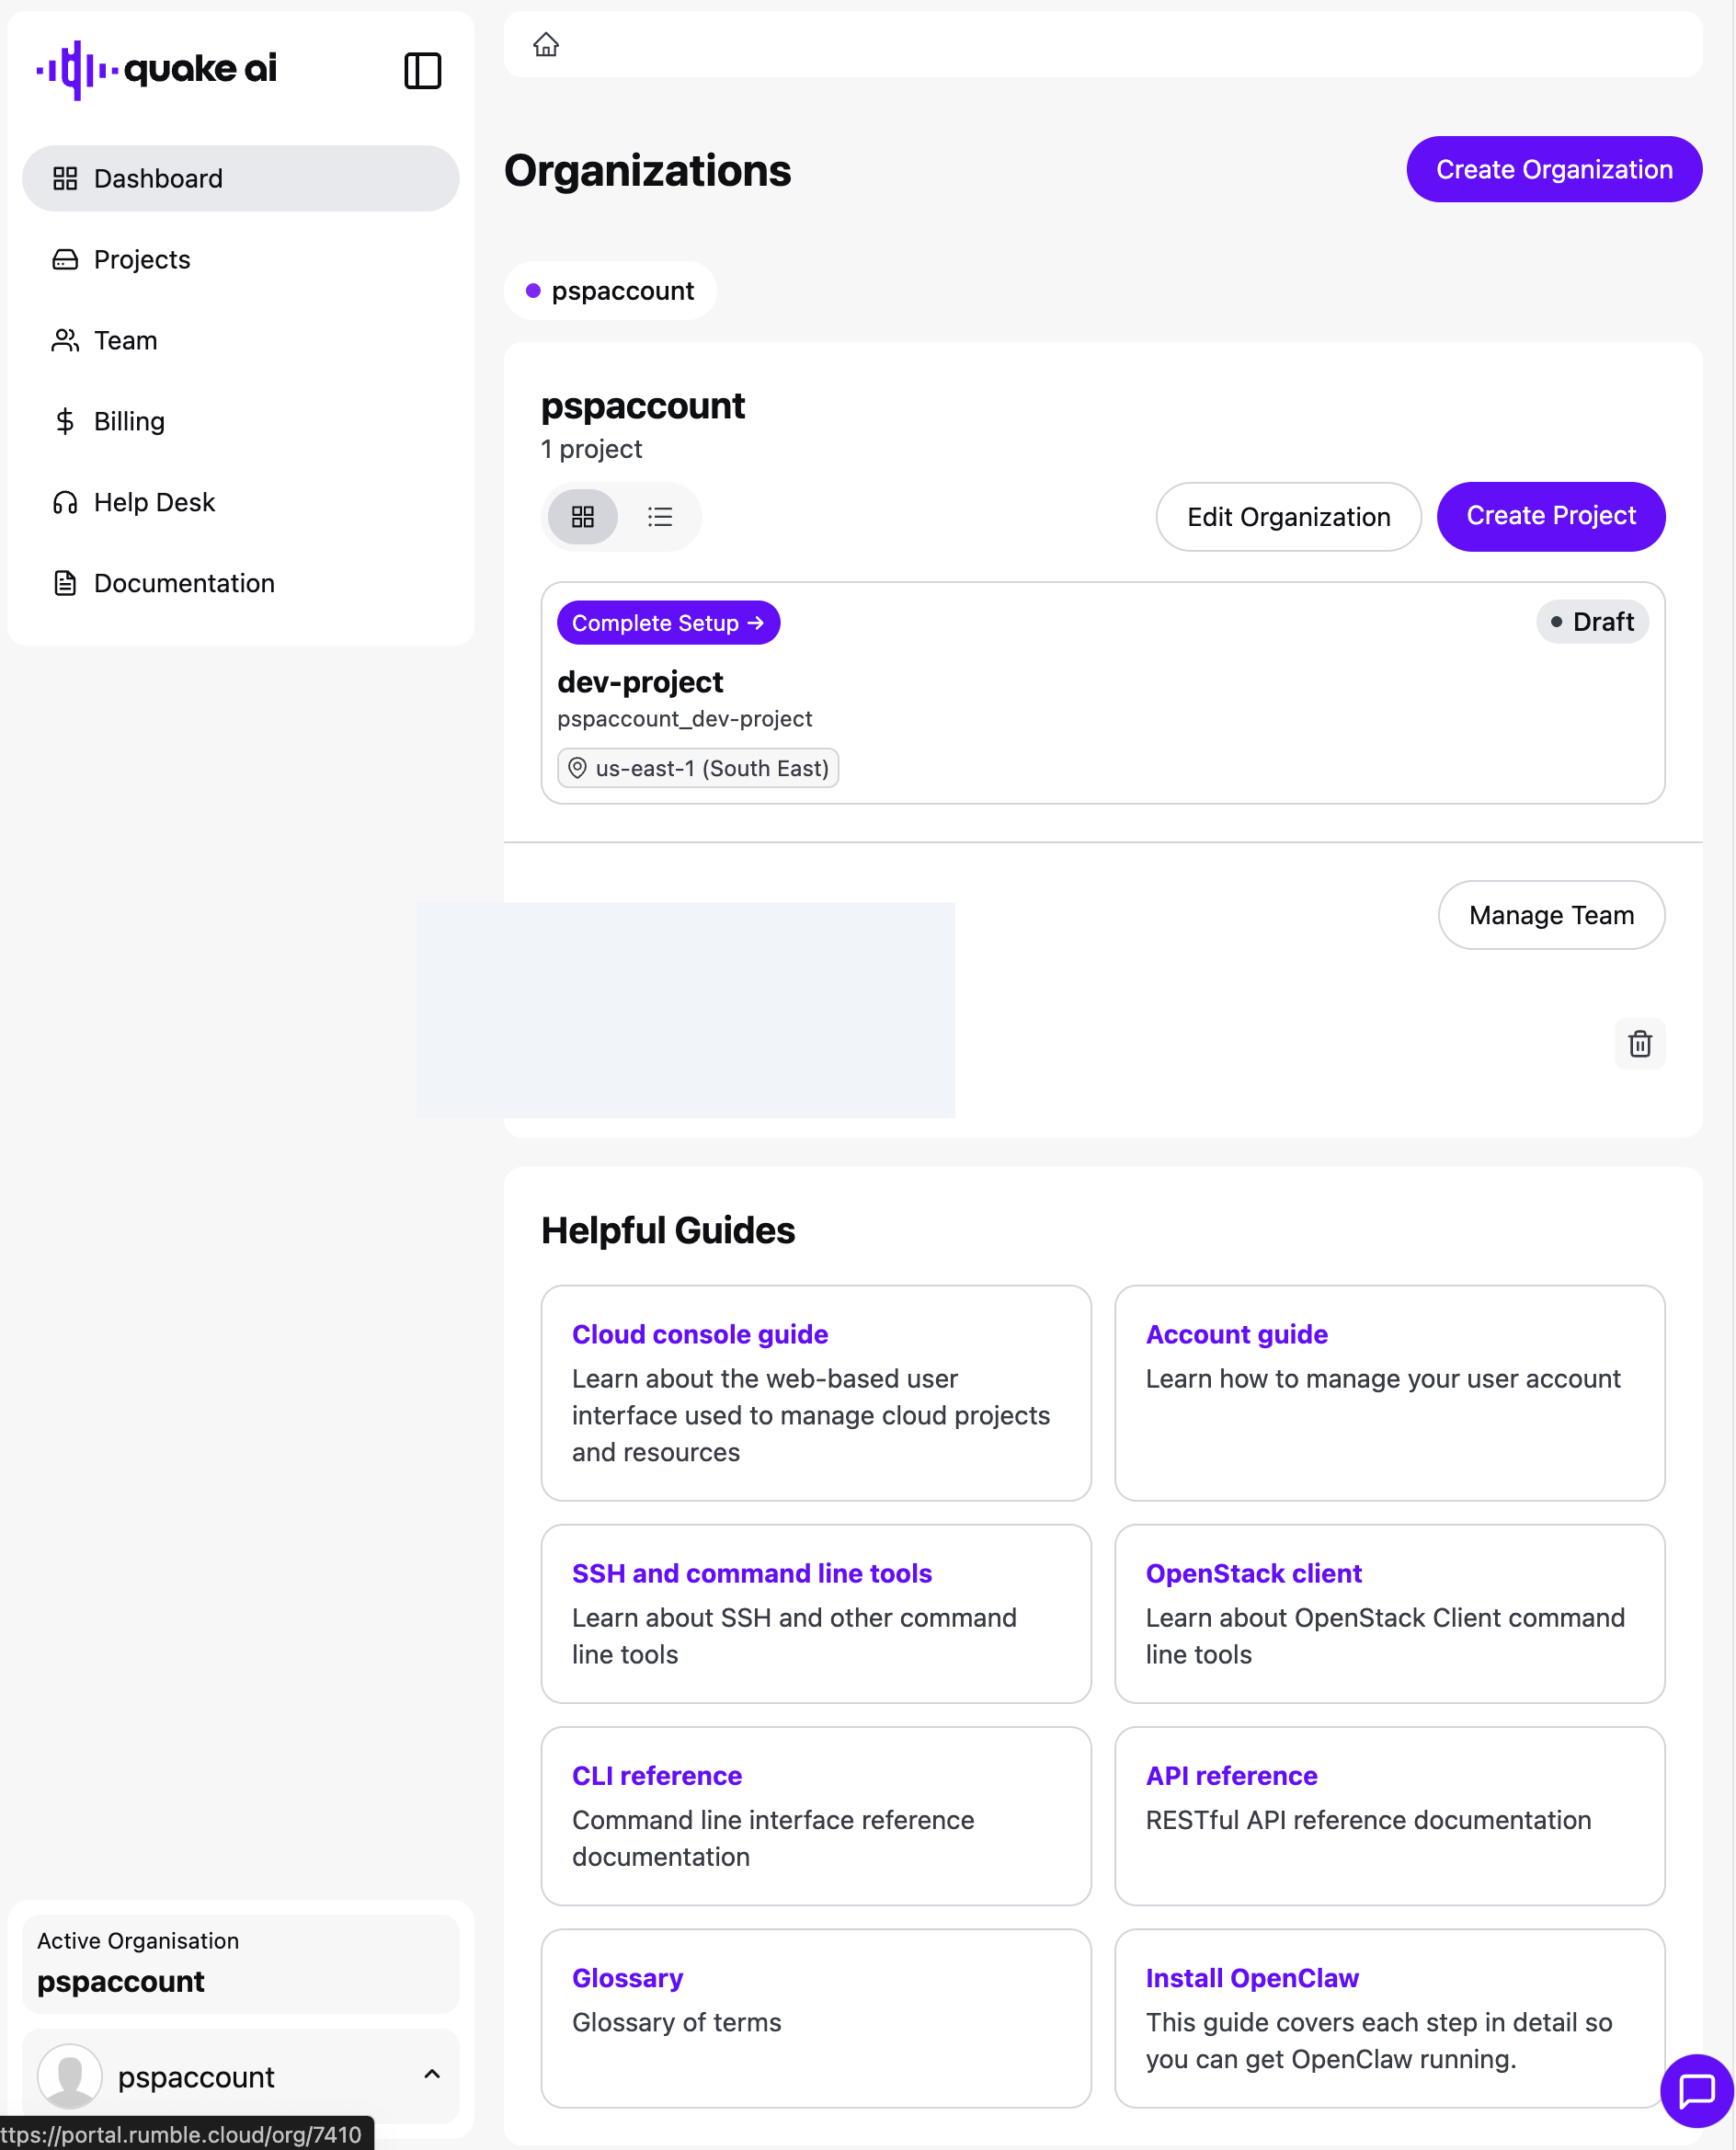
The left nav is:
- **Dashboard**
- **Projects**
- **Team**
- **Billing**
- **Help Desk**
- **Documentation**
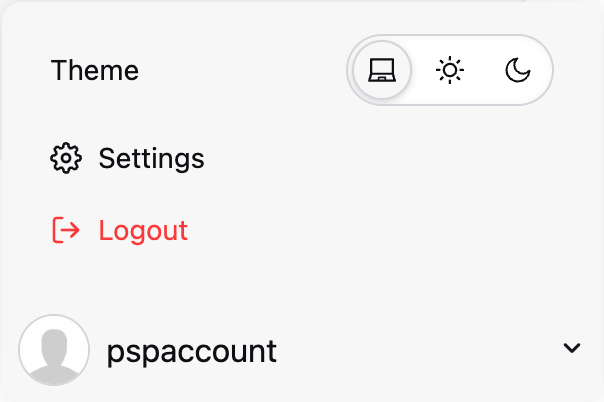
The user menu (avatar) includes theme (system, light, dark), **Settings**, and **Logout**.
## Create an organization
1. On **Dashboard**, select **Create Organization**.
2. Provide a name. Organization names may contain letters, numbers, spaces, and hyphens.
3. The new organization appears on the dashboard. Select **Edit Organization** to change fields the portal allows you to edit.
## Add members to your team
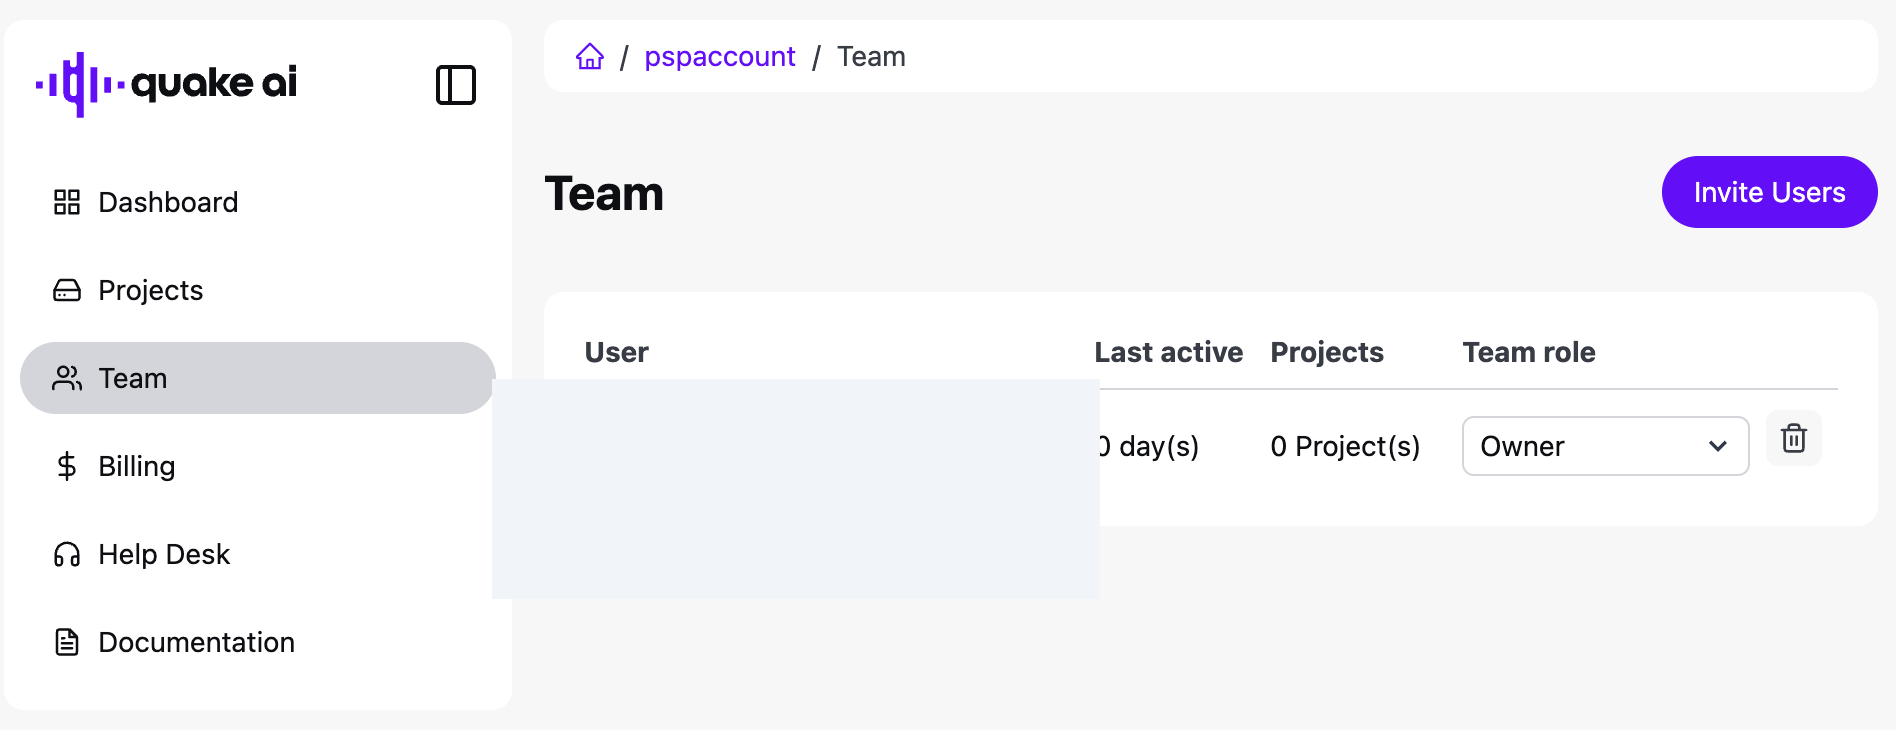
1. Select **Team**.
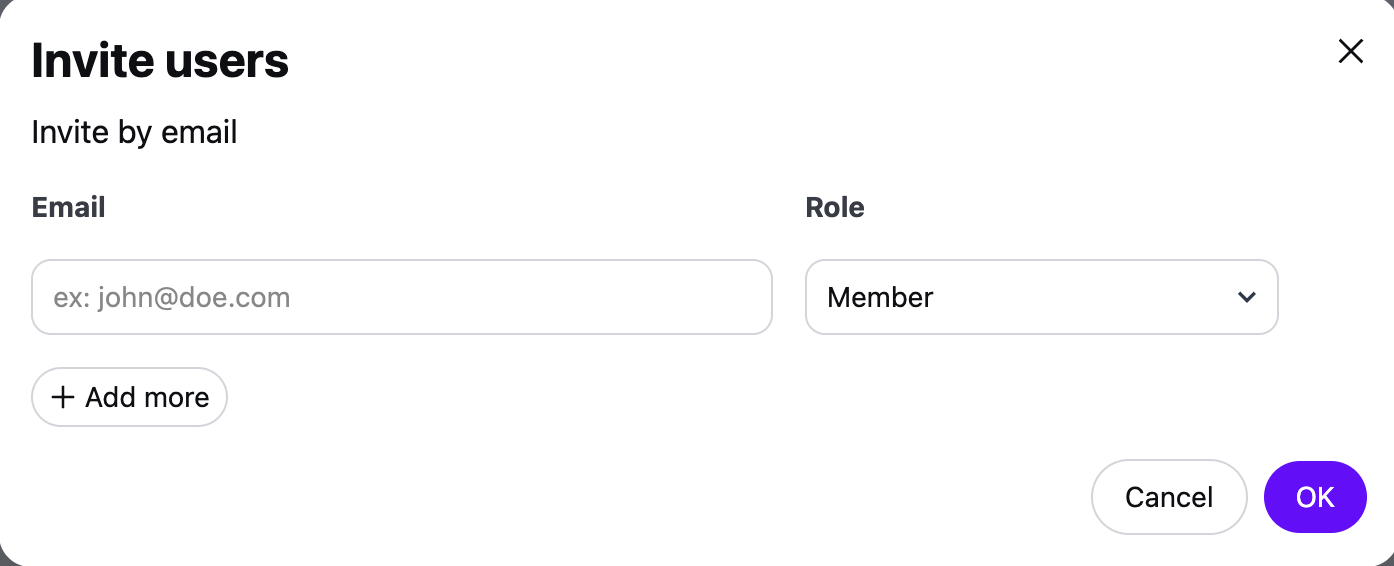
2. Select **Invite Users**.
3. Enter an email address and a role, then select **OK**. Use **Add more** to invite several people at once.
Organization roles:
| Role | Manage org | Manage projects | Manage users | Billing access |
|------|-----------|----------------|-------------|----------------|
| Owner | Full | Full | Full | View + pay |
| Manager | Full | Full | All except owners | View + pay |
| Member | View | View (assigned only) | View | None |
| Billing Admin | None | View | View | Full |
## Update your profile
1. Open the user menu and select **Settings**.
2. Update full name, company, phone, and address. The email field is tied to your Rumble.com identity.
3. Select **Save changes**.
## Manage your payment method
1. Select **Billing**.
2. Under **Payment Methods**, select **Manage**.
3. Add a card, or select the trash icon to remove one. Select **Save** after you enter card details.

## Manage your billing address
1. Select **Billing**.
2. Under **Billing Addresses**, select **Manage**.

**Add an address**
Select **+ Add address**, enter the address, and select **Save**.
**Edit an address**

Select **Edit** on an existing address.
## Help Desk
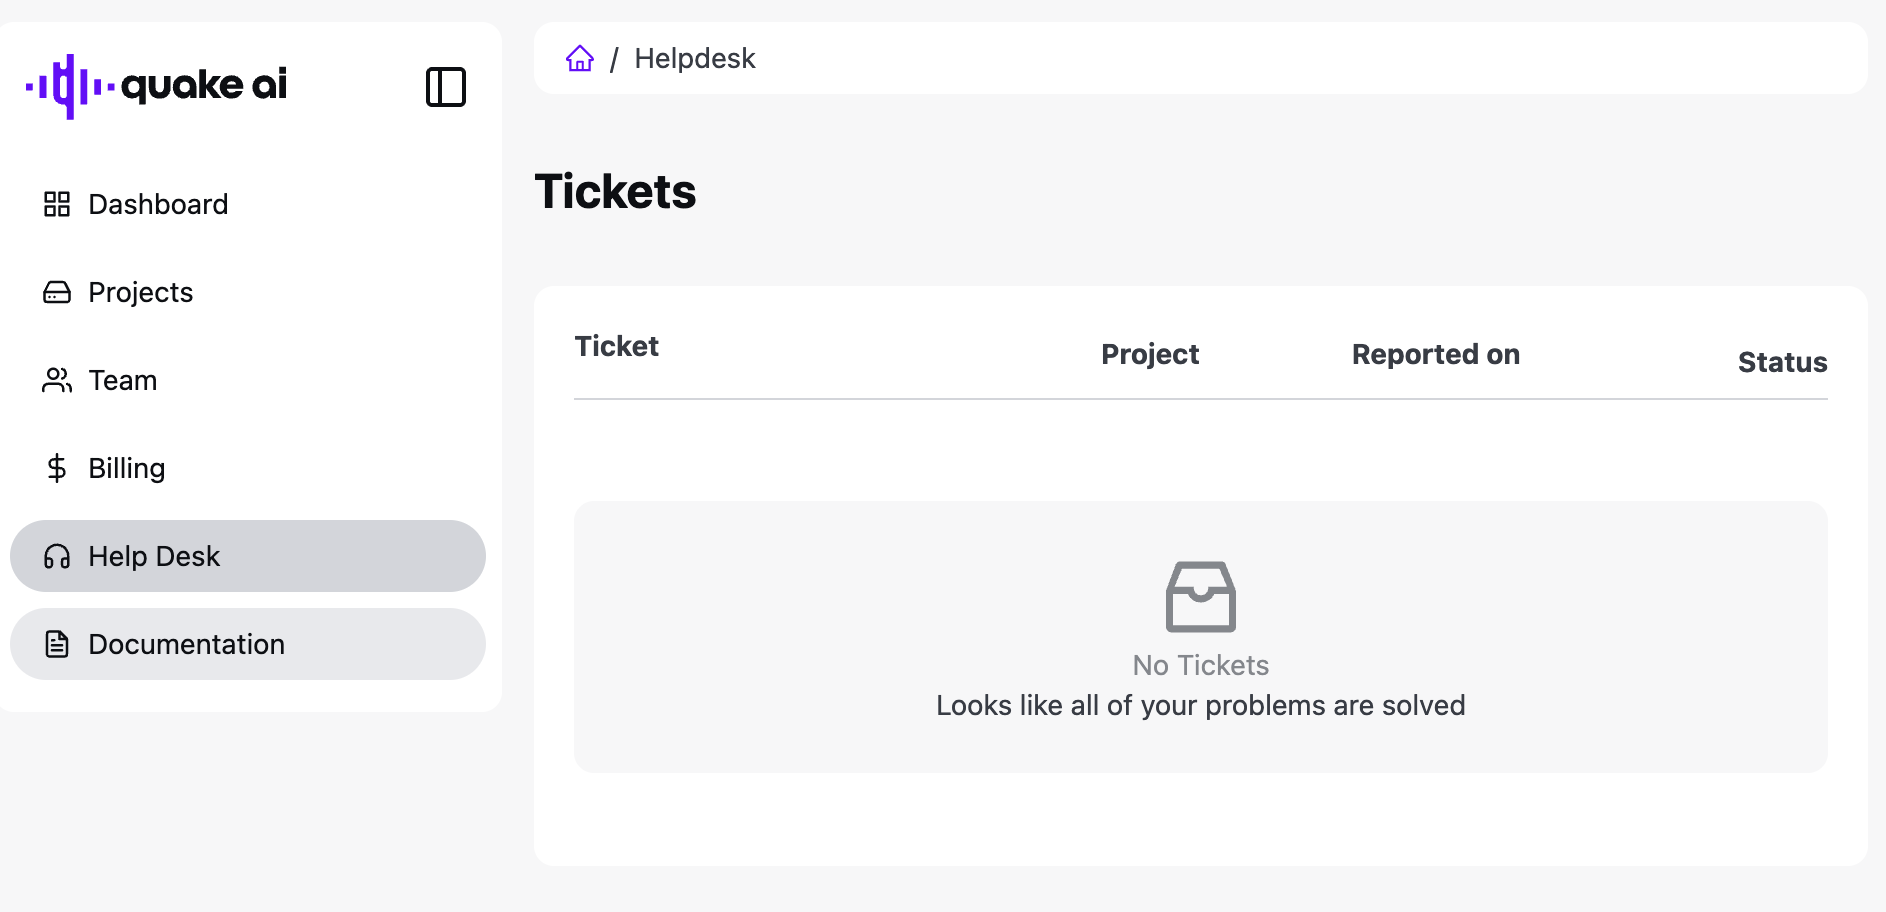
Select **Help Desk** to view support tickets for your organization.
## Related reading
* [Manage cloud projects](/docs/account/projects)
* [Resource tiers](/docs/account/resource-tiers)
* [Subscriptions](/docs/account/subscriptions)
Glossary: [*Projects*](/docs/glossary#project), [*Role-based access control*](/docs/glossary#role-based-access-control-rbac).